🚀 Deploying Your First Site
How to deploy your first site on Netlify
Visit https://www.netlify.com/ and click the ‘Sign up’ button in the top navigation 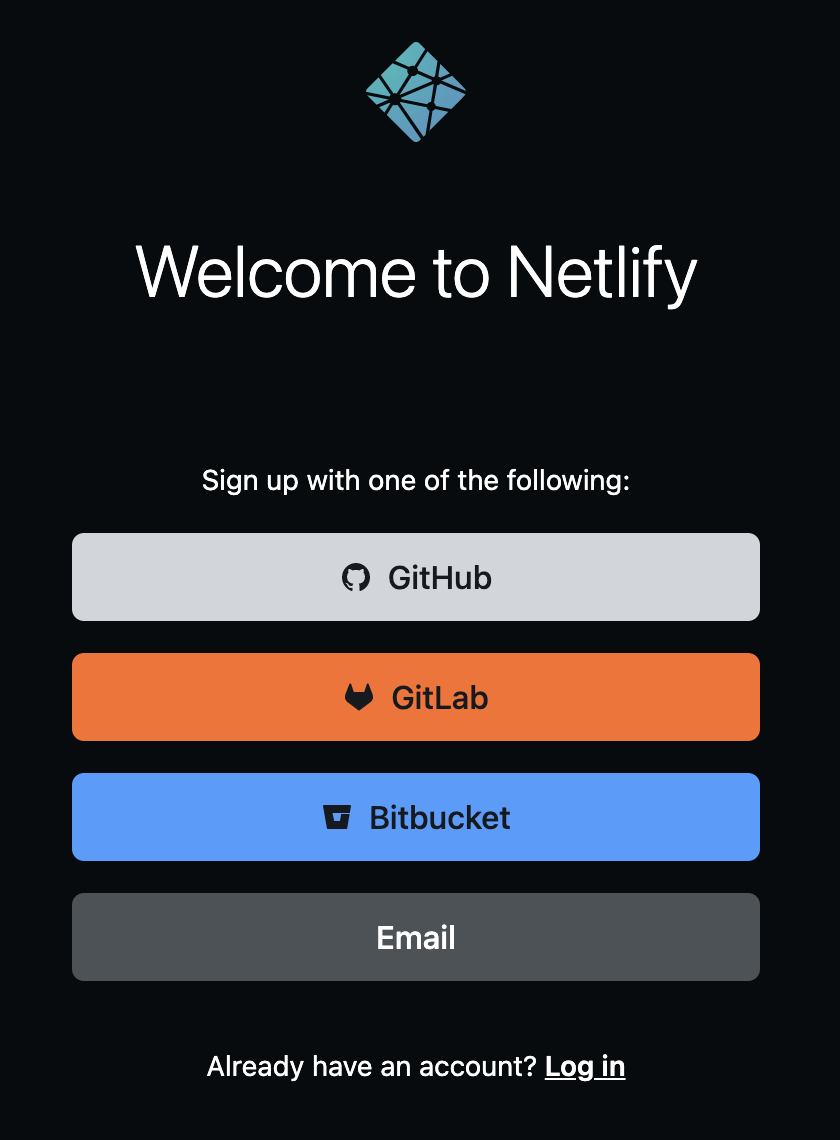
Choose ‘GitHub’ on the sign up page - If you are logged out of GitHub, then log in
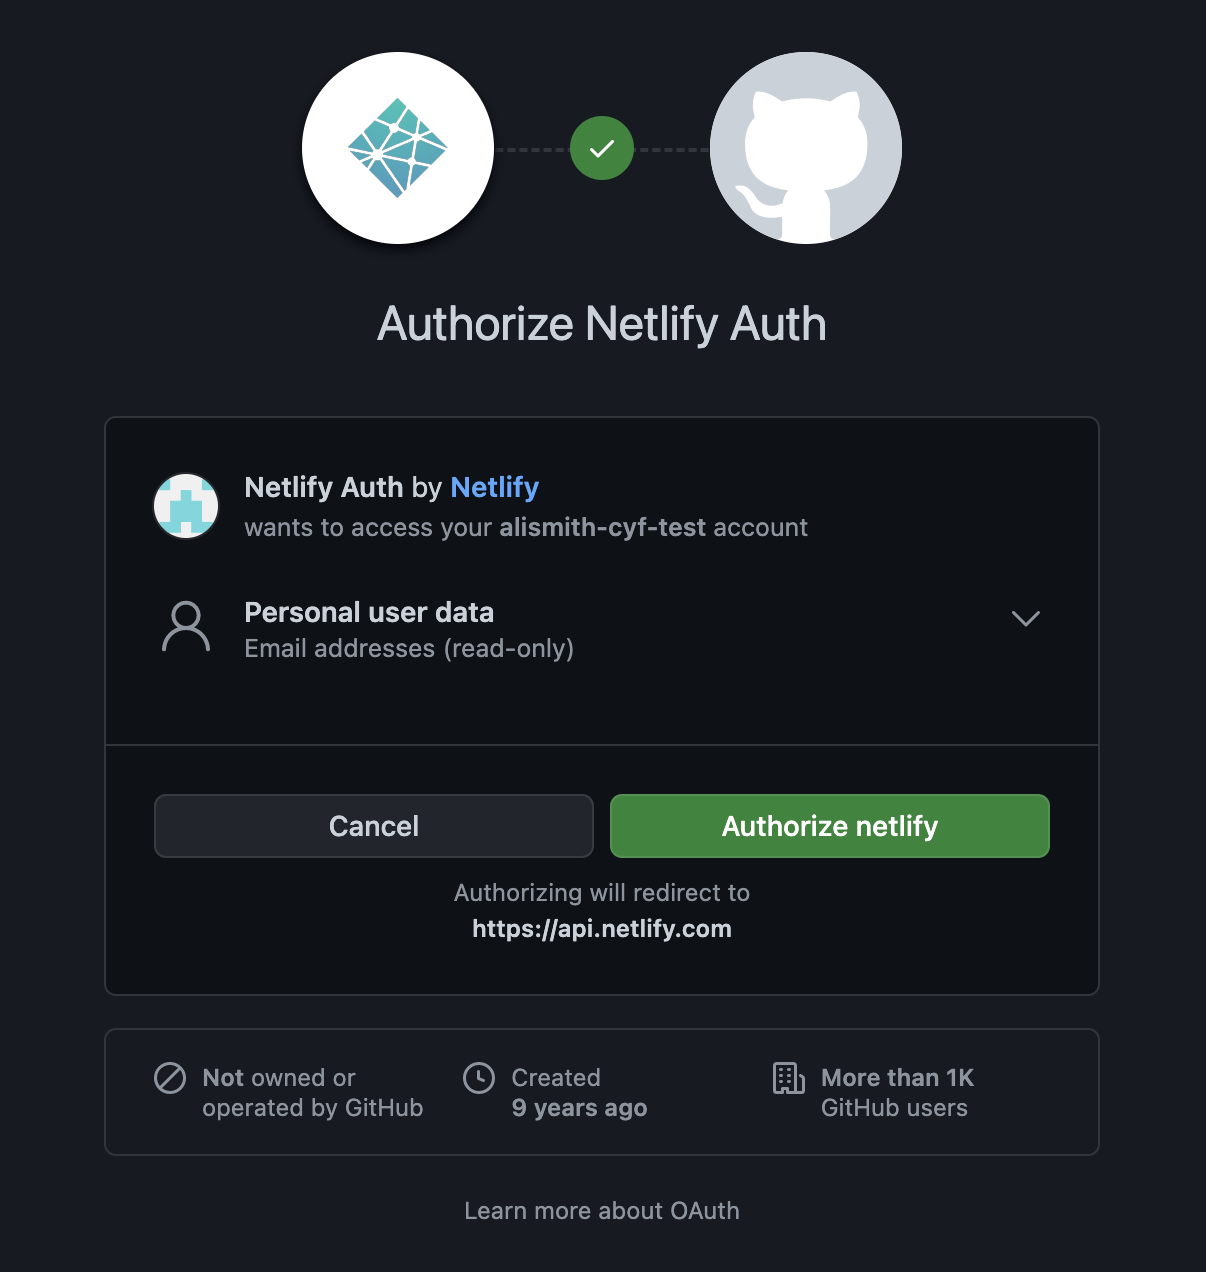
Read the permissions and click the ‘Authorize netlify’ button - If prompted to ‘Tell us about yourself’, fill out the information. Note: only the ‘I’m using Netlify for’ question is required, so you can skip everything else if you want
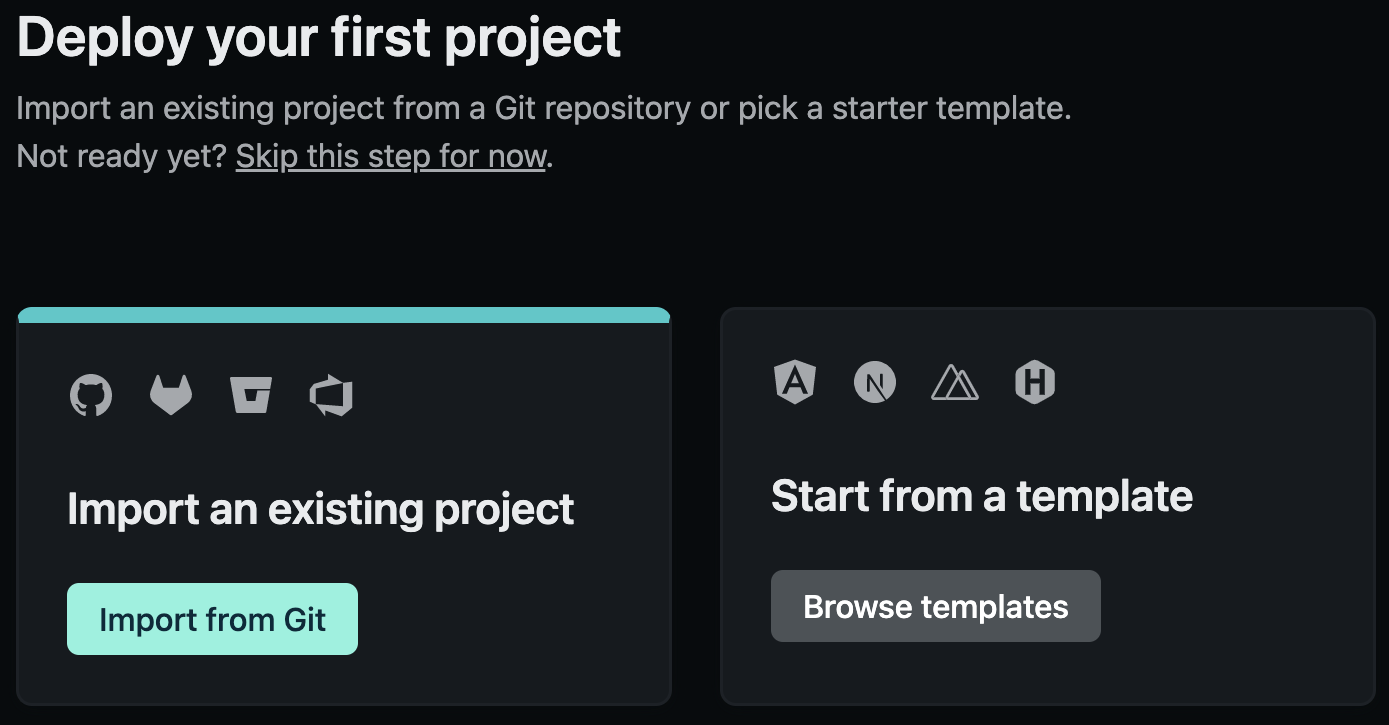
Click the ‘Import from Git’ button 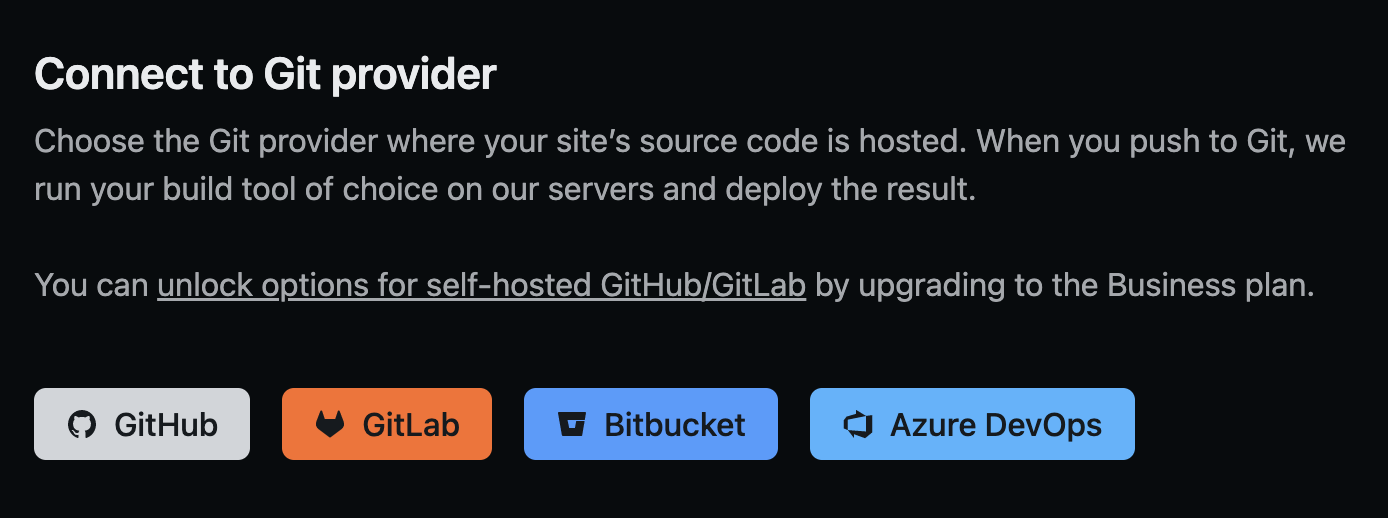
When asked to connect a Git provider, click the ‘GitHub’ button 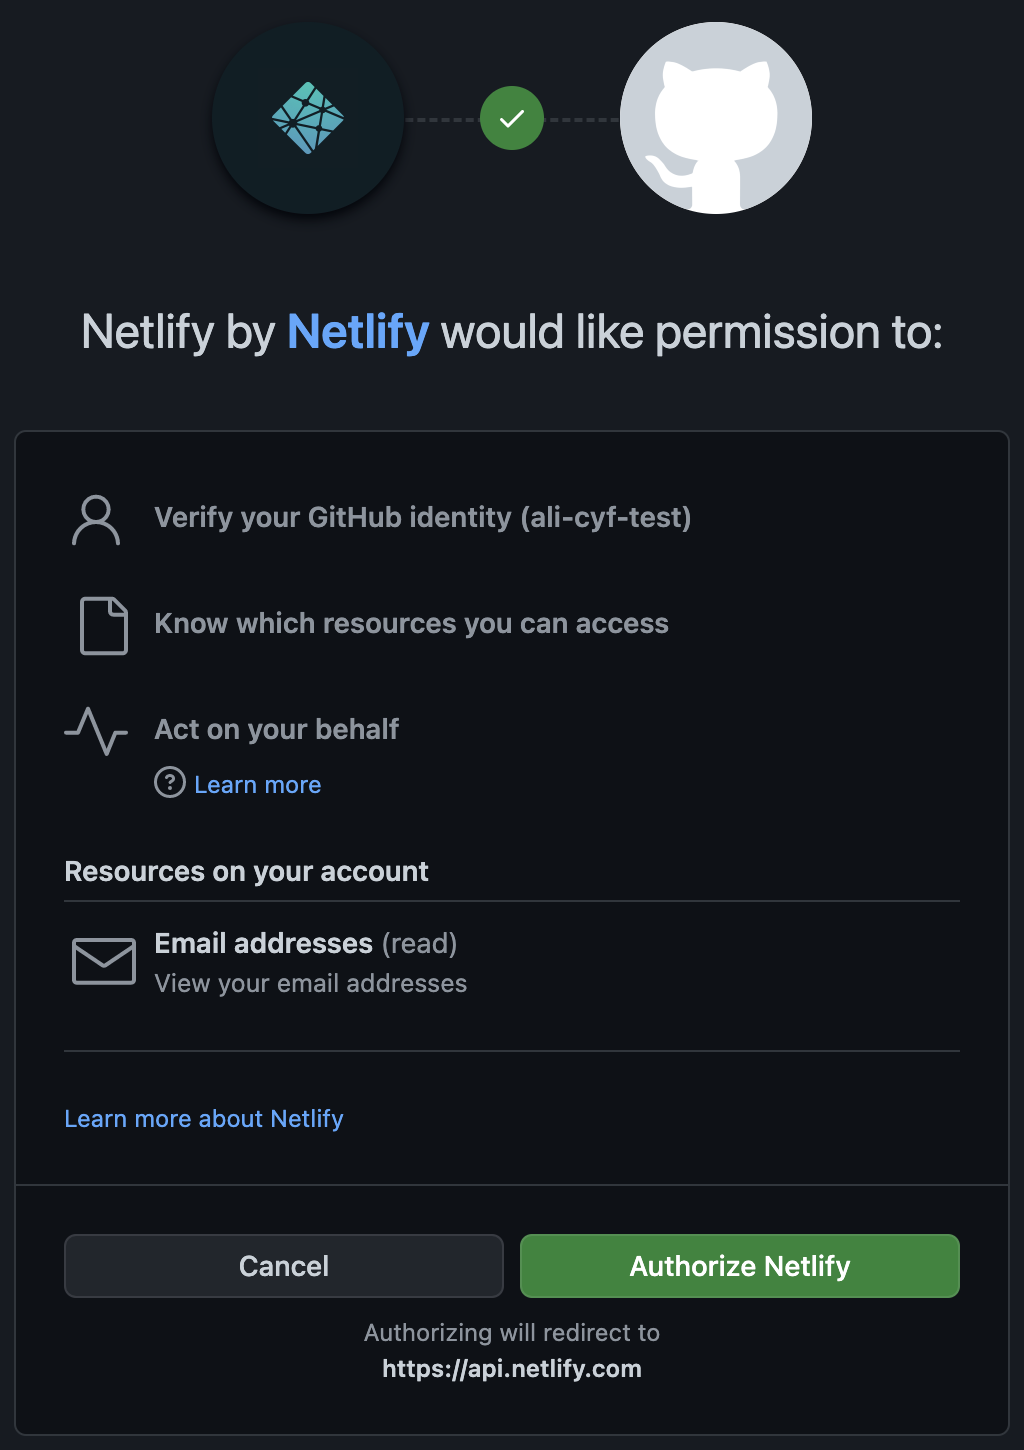
A pop-up window will ask for some more GitHub permissions. Click the ‘Authorize Netlify’ button 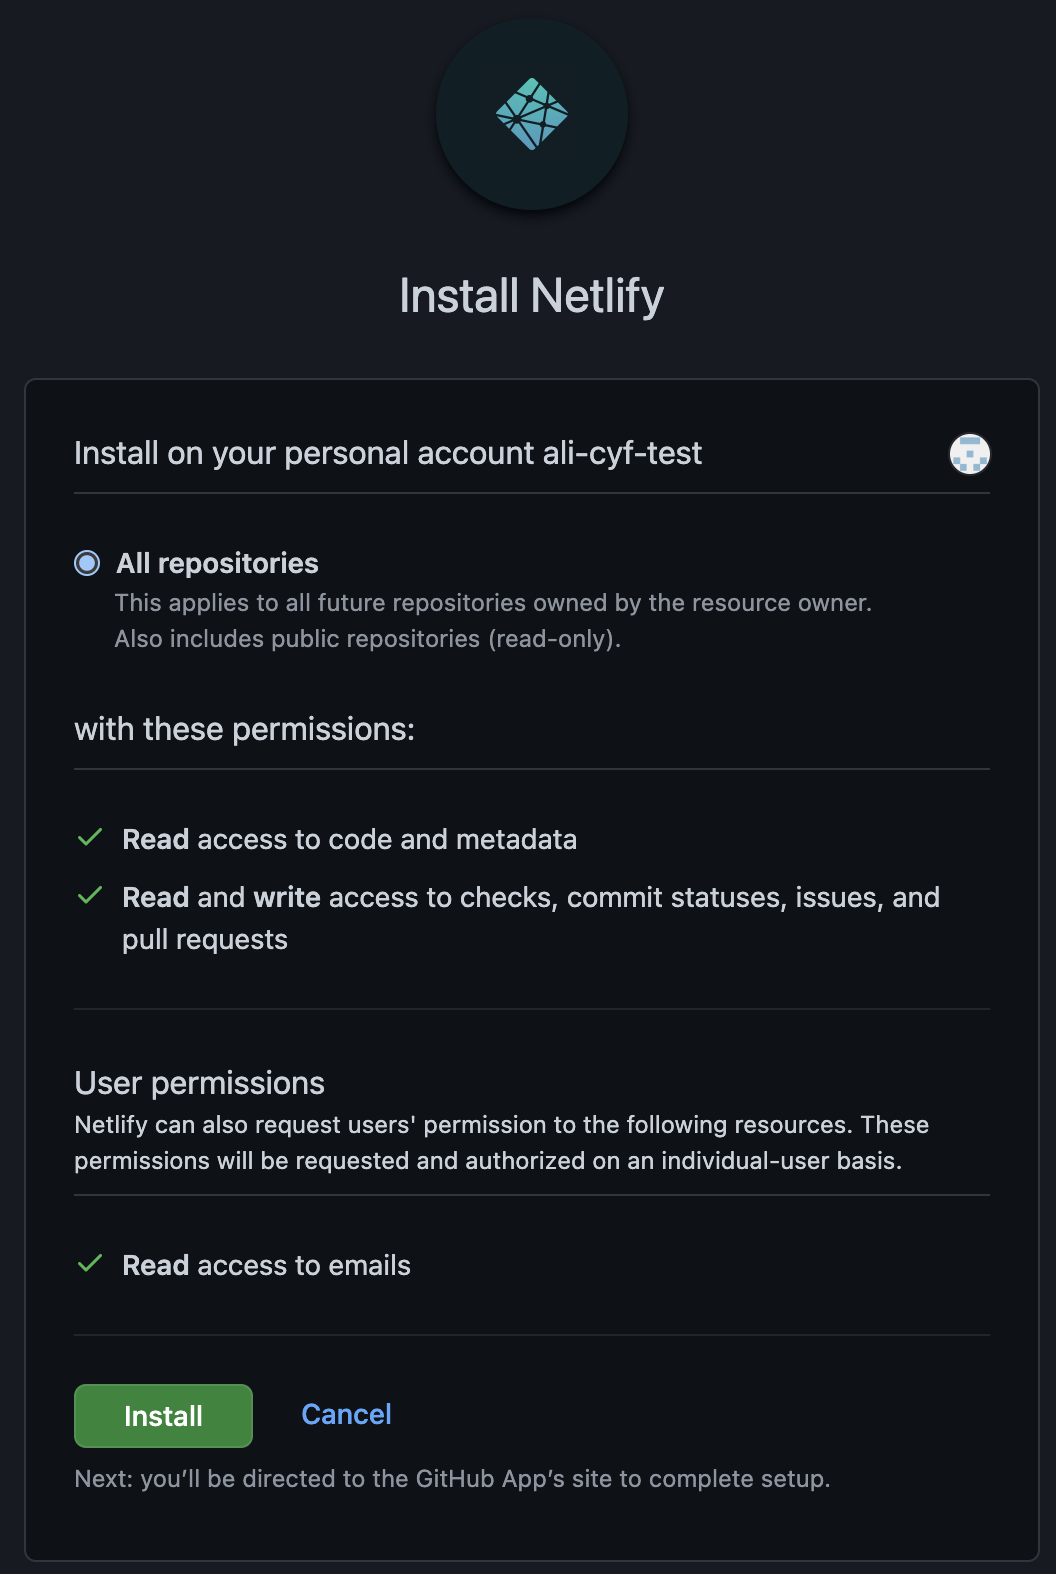
You will be asked to ‘Install Netlify’. If you are prompted ‘Where do you want to install Netlify’, choose your personal GitHub username. ⚠️ Warning
Do NOT choose Code Your Future’s account, as this won’t work!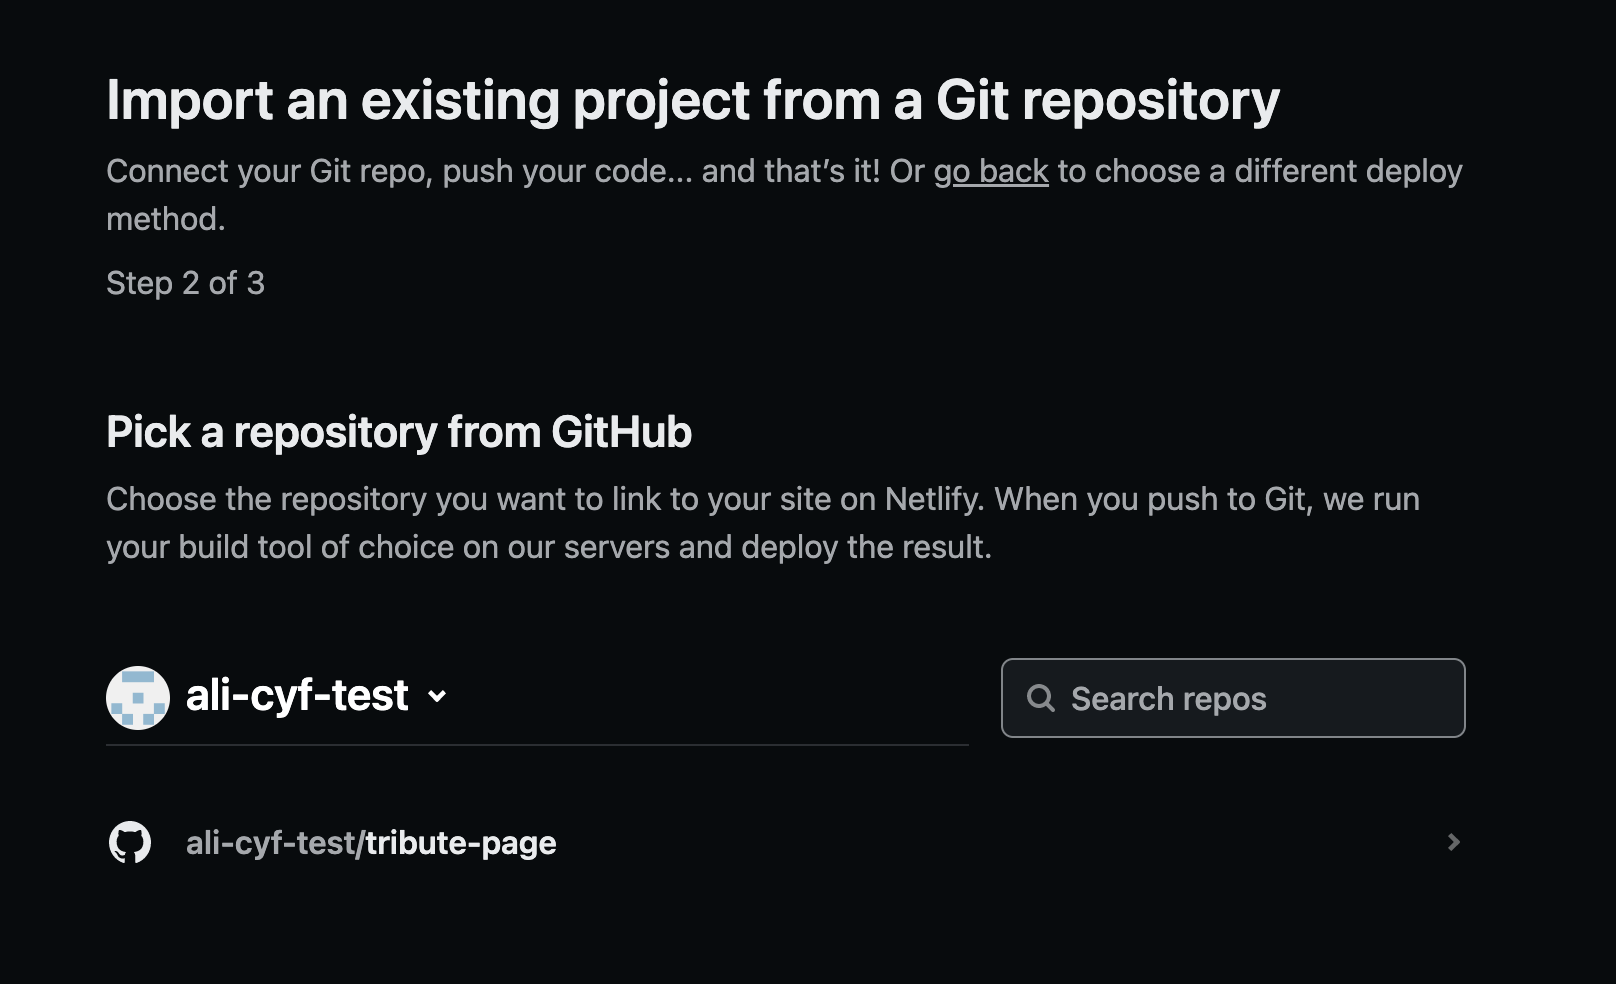
Select the GitHub repo to create a site from 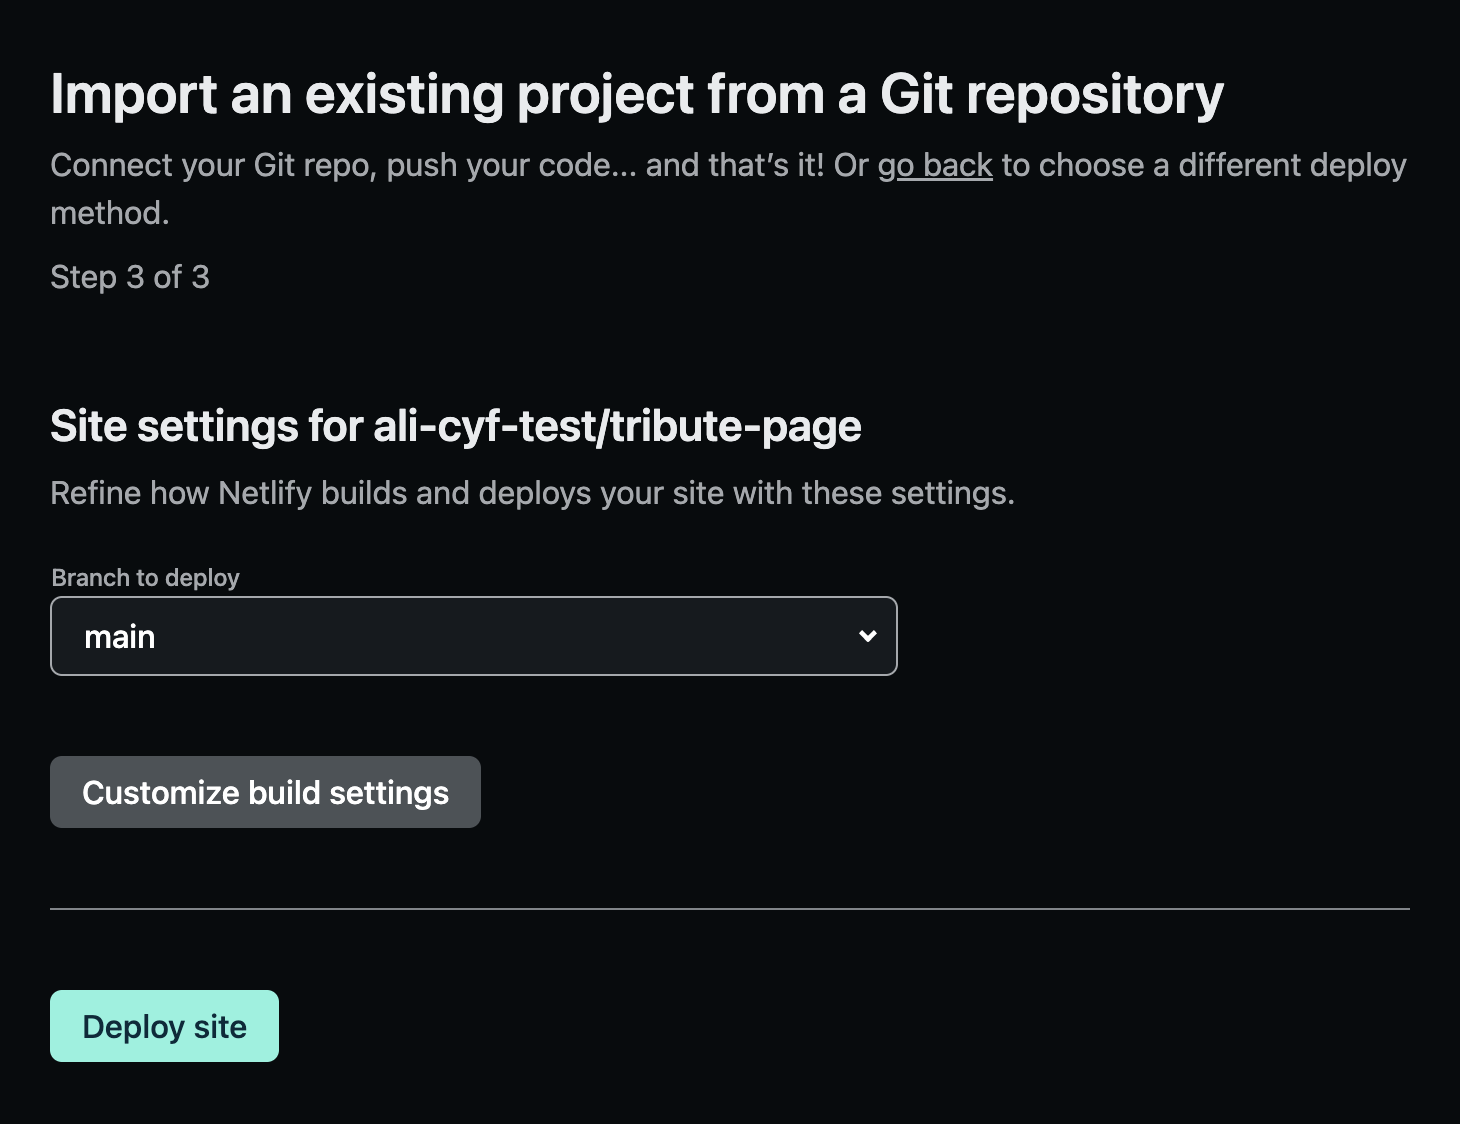
Under ‘Branch to deploy’ choose the ‘main’ branch of your repo, which is usually called main. You do not need to change anything under ‘Customize build settings’, Netlify will do this for you- Click the ‘Deploy site’ button
- It may take a few minutes before the deploy is complete. Try refreshing your browser, when a
.netlify.appURL appears then the site is live
